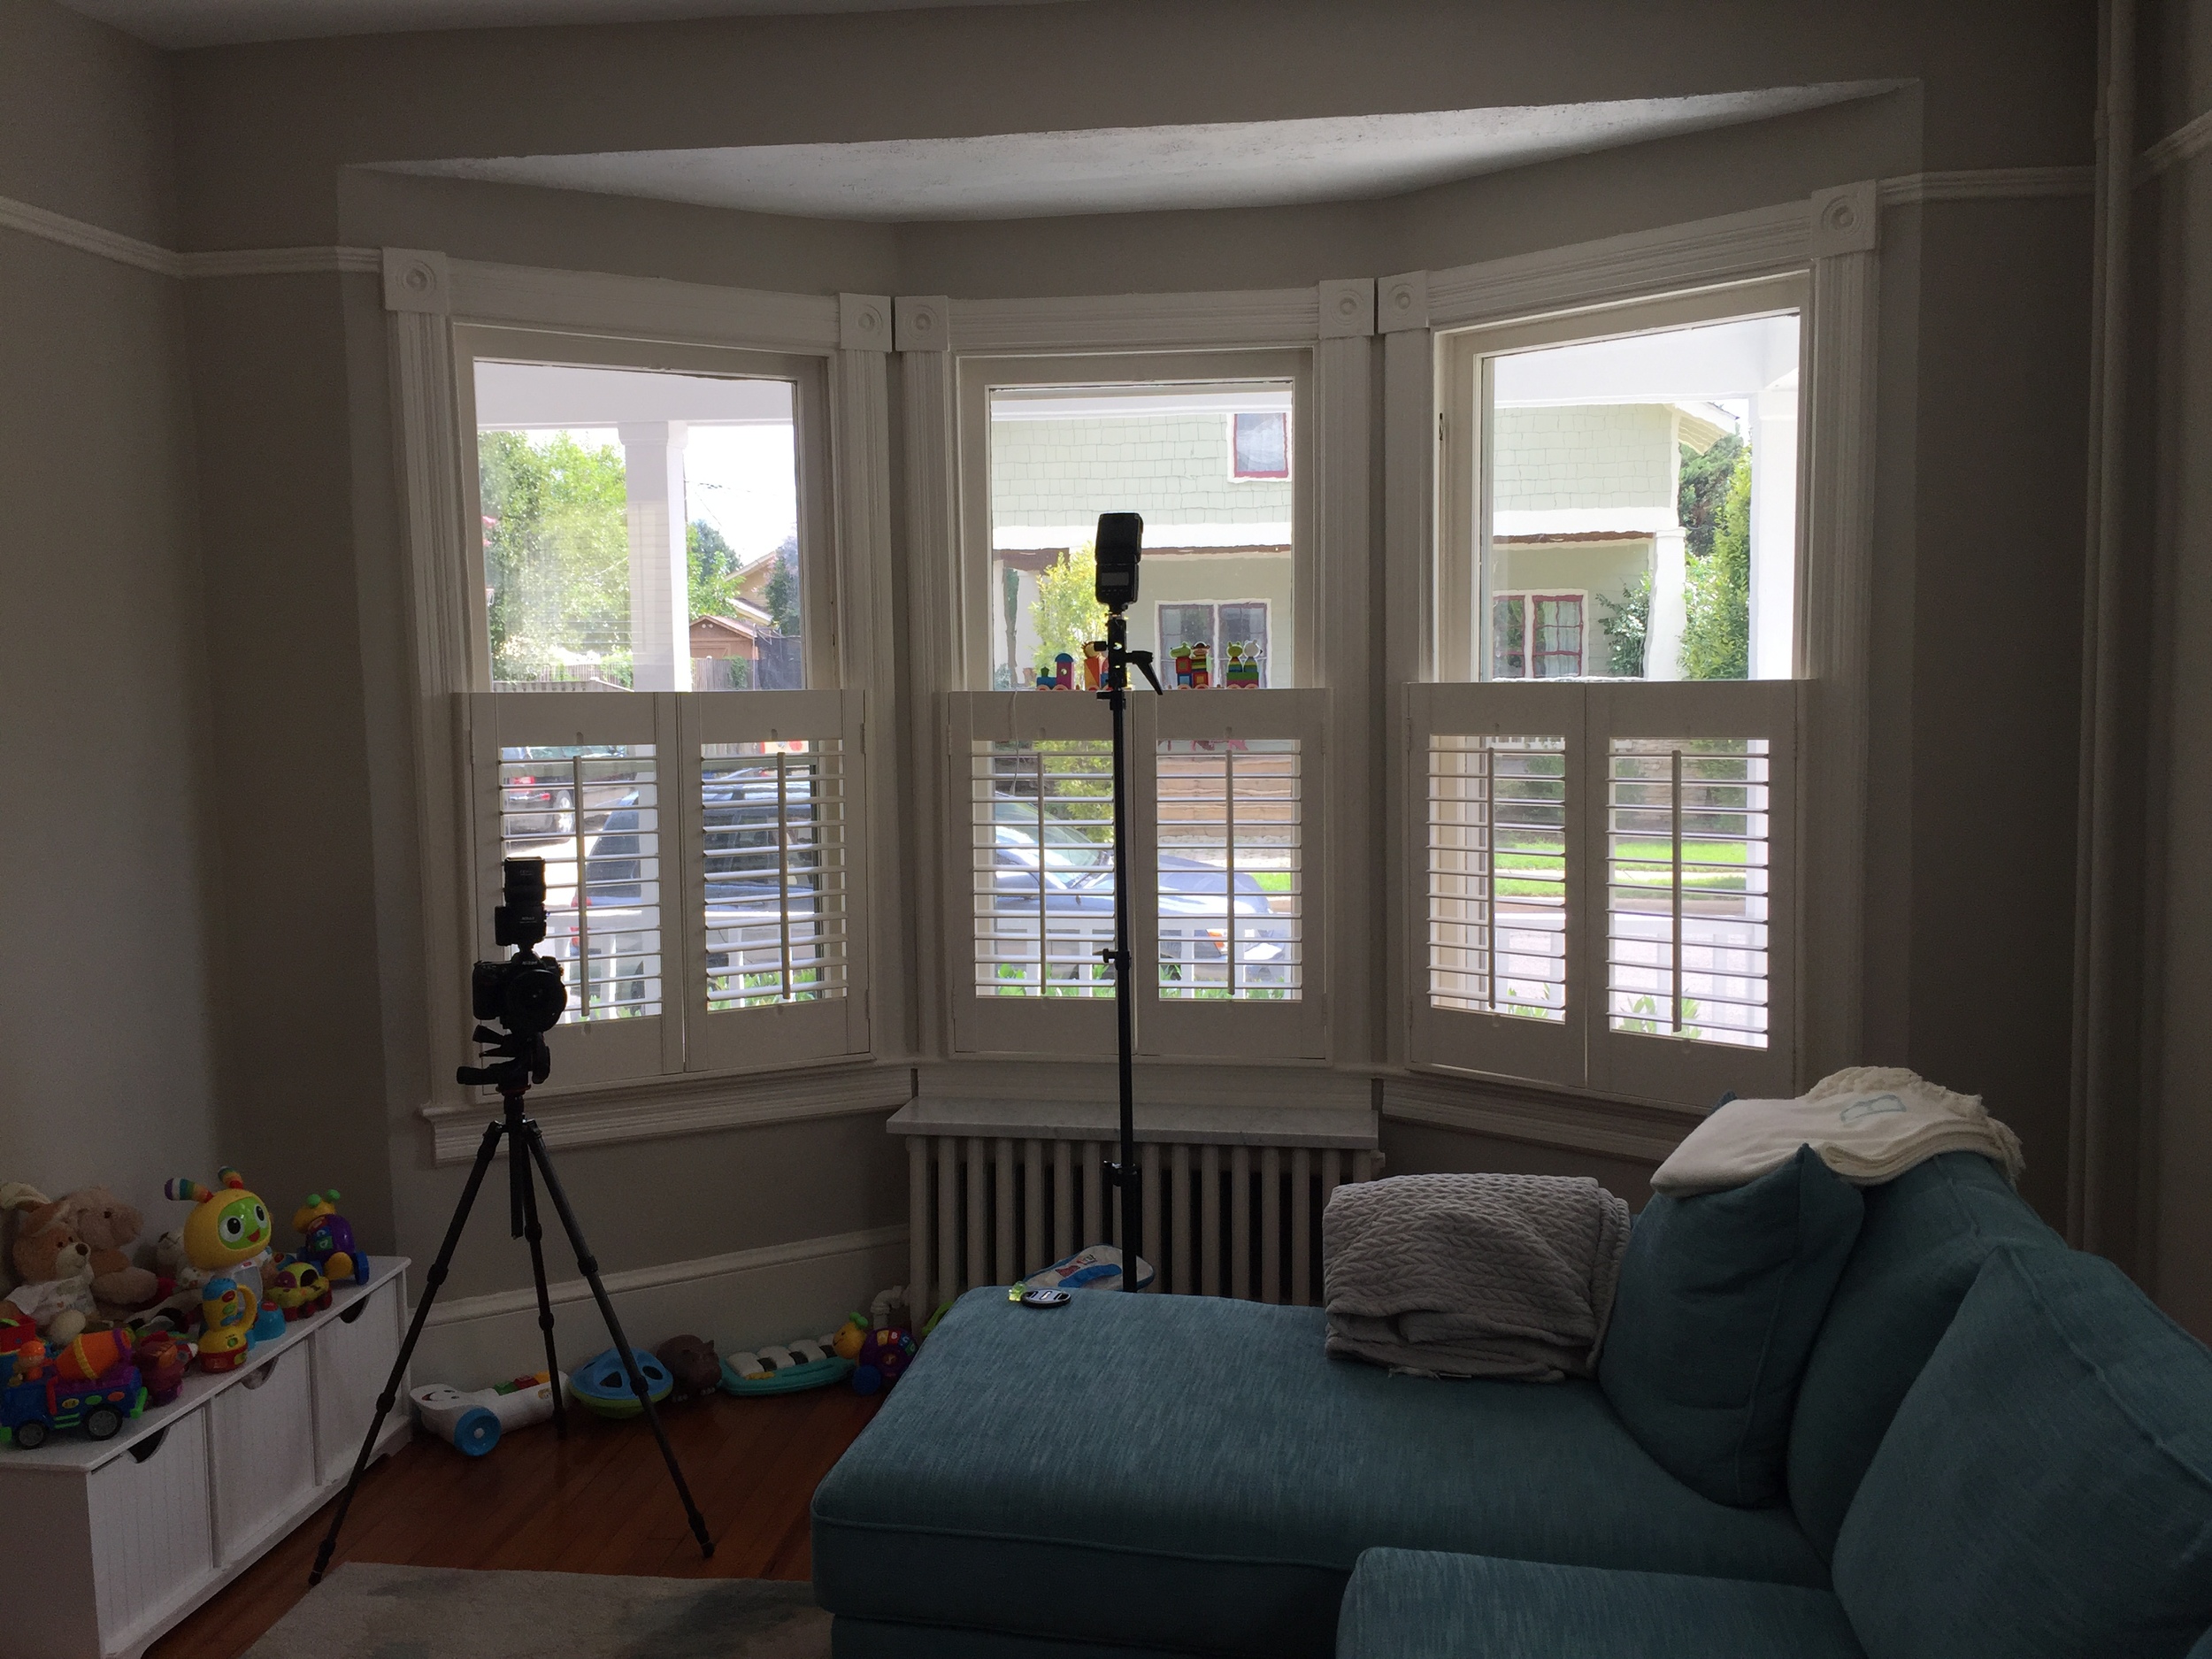
Nikon D200, Nikon 18-70mm @ 55mm, ISO 400, f/7.1, 1/30 sec
As a real estate photographer, your ultimate goal is to persuade a prospective buyer to get off the couch, leave the comfort of their home, and come take a first-person look at a property. But there's something deeper going on psychologically and you need to understand it.
My wife gets this, and I get it now, but I didn't always understand. It's like the time we were buying a new car. I wanted to play it cool at the dealer (even though our car was on its last legs and we needed a new one ASAP), and I was trying. I'm not that great at negotiations, but I was trying. In the showroom, there happened to be a lovely green version of the model of car we were looking at (we had test-driven a white version). My wife proceeded to tell the salesman that she loved the color of the showroom car.
Crap.
And that was it, right? Although she wasn't the biggest fan of the car itself (and we've since outgrown it), she loved the color. That was where her heart was and it wasn't really going to budge.

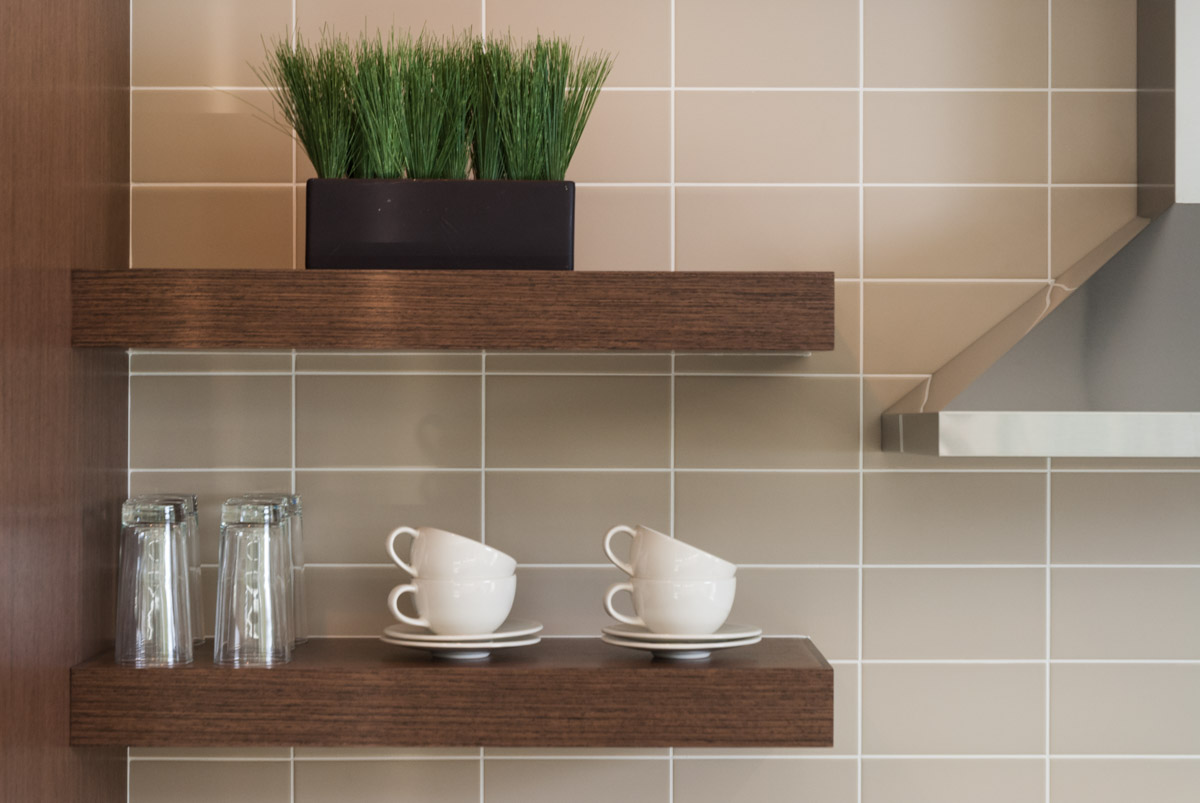
Nikon D200, Nikon 18-70mm, ISO 100, f/7.1, 1/10 sec
It's like that with prospective home buyers too. You need to get them to fall in love with the property that you're photographing. Whether they realize it or not, deep down they will begin to imagine themselves living in that space, cooking there, entertaining there, relaxing there. They will envision their kids growing up there and eventually grandkids will visit and enjoy the home. Or some version of the above.

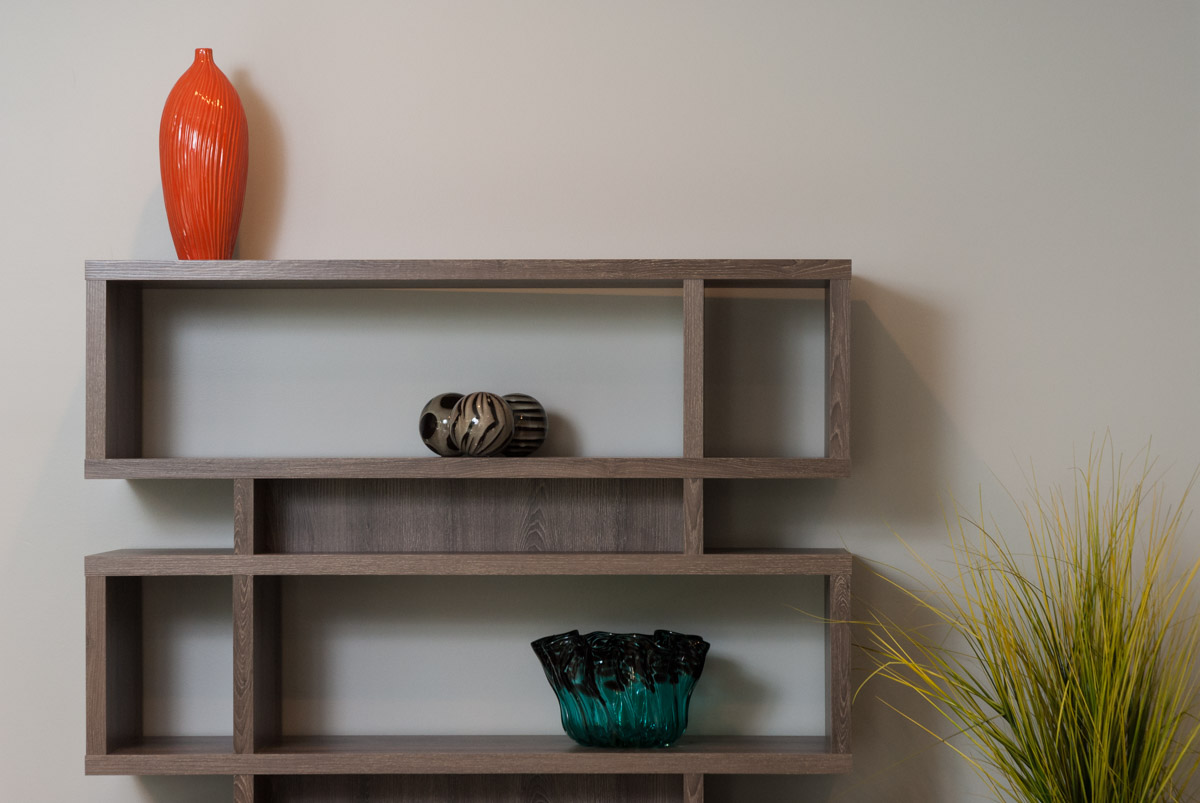
Nikon D200, Nikon 18-70mm @ 62mm, ISO 160, f/4.5, 1/10 sec
So, as a photographer, how do you do this? Well, staging is key, and so is proper lighting, composition, color, and all of the other things professional photographers think about. But the detail shots can really sell it. Details are not going to be your bread and butter real estate shots, but including a few in every shoot can really pay off. Not only are you over-delivering to your client, but you are planting the seed in those buyers' minds.

Nikon D200, Nikon 18-70mm @ 25mm, ISO 400, f/7.1, 1/20 sec
They need that house. No one else can have that house, and they can't imagine living anywhere else.
The cute little breakfast nook with the warm sunlight streaming in the window.
The cozy couch with the fluffy pillows and warm blanket.
The vase of fresh-cut flowers in the entryway.
The bathroom vanity sporting the latest high-end fixtures.
The chef's kitchen.
Nikon D200, Nikon 18-70mm @ 60mm, ISO 400, f/7.1, 1/20 sec
The reality is that, of course they can live in another house, but it's marketing, right? We don't need that luxury Jaguar, we don't need that bucket of chicken from Popeyes, we don't need a gecko-driven insurance policy.
Your photos are going to create the first impression for most prospective buyers. It's your photos that will get them in the door. Give them that little extra nudge with some subtle detail-oriented marketing.