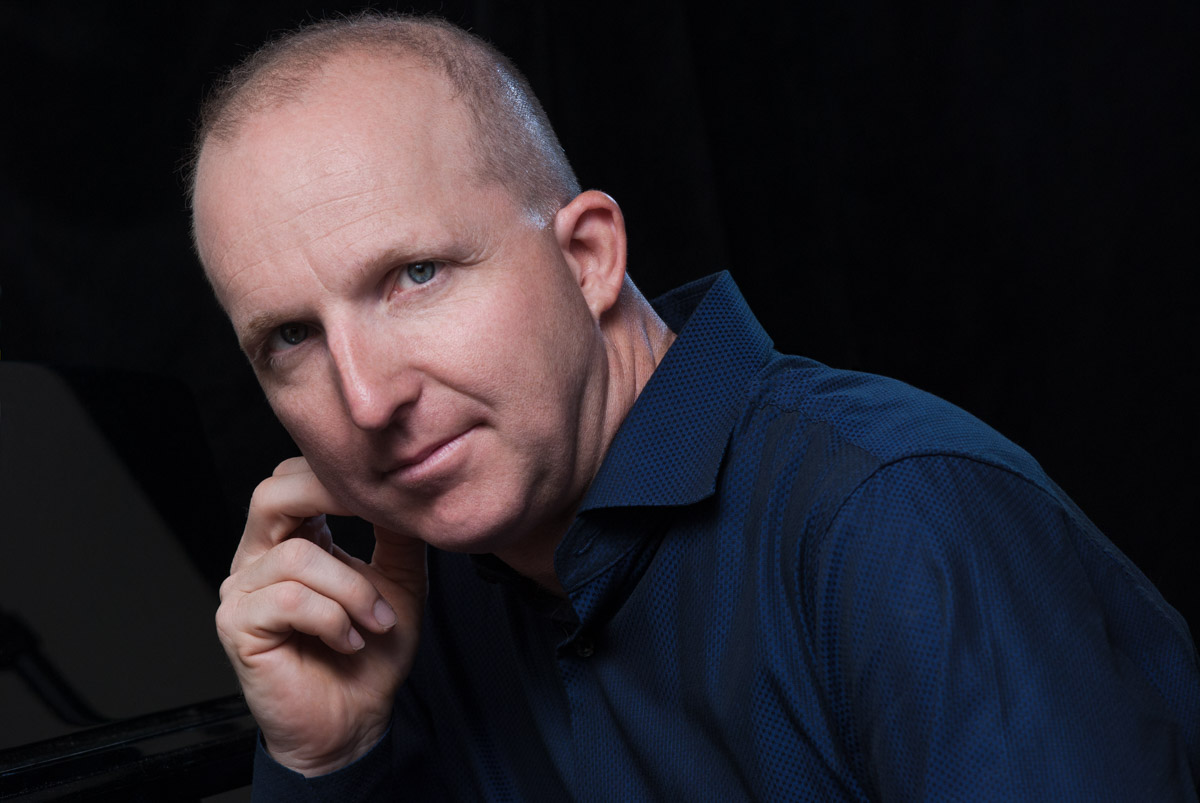
A retouched headshot. Here, Brevan is looking great even though he had a little acne and some sleepy under-eye bags on the morning of our shoot.
I occasionally have headshot clients ask if they can have all of the proofs from their headshot session as high-resolution files. Depending on the package purchased, at least one retouched high-res file is included in the price; however, I do not send out unretouched high-res files. The conversation is not always an easy one, but I have strong reasons for the way I conduct this part of my business. The conversation usually goes something like this:
Client: Can you send all [150 or whatever number] proofs from my headshot session as high resolution files?
Jon: I actually only send retouched high resolution files, so unless you pay to have all 150 retouched, I can't provide them.
Client: Why not? I paid for the whole session.
Jon: I understand, but I only want the absolute best versions of these photos to be out in the world. That's why I retouch every single high-res file that you request.
Client: Okay, well, why do I have to pay $30 for each one? That seems like a lot of money for one photo.
Jon: Well, retouching is a very time-intensive process because I take great care with each and every detail to make sure that you get the best looking headshot.
See, the truth is that most headshot clients really only need one headshot. They don't need 10 different versions of the same photo. Unless you're a very diverse actor looking to book work in some varied fields, you only need one great photo.
Before sending any proofs, I actually go through and weed out any non-keepers. Shut eyes, unusable expressions, things like that. Then I might provide 150 low-res proofs of the same look to a client so that we can find their best possible expression or moment (I'll be writing another post in the near future on that subject, so stay tuned).
But that's only part of the story. What if I were to provide a client with all 150 proofs as high-res files? Well, that means they could go out and make prints of any one of those files, retouched or not. They could share any one of those files on social media, or even upload them to casting websites, or to their own website. Any piece of promo material graced with their unretouched headshot will now be out in the public eye.
So why is this a problem? Most clients come to me with their makeup and hair done and they're looking their best. I also use lighting and lenses that are going to flatter their features. Why retouch?
Headshots are close-ups. There's no hiding and every blemish and flaw may show up. You don't want anything to detract from the purpose of the photo: To show you off!
It's also peace of mind for a client. Brevan, at the top of this post had shown up the morning of his shoot with bags under his eyes and a little acne. I assured him and his parents that it wouldn't be a problem at all, and we were able to have a really fun and relaxed photoshoot.
I've gotten permission from two lucky contestants to use their before and after photos as examples to prove why you need a retouched headshot. First up, the lovely Kristine. Kristine has great skin and had her makeup done quite well. Her hair was in good shape and everything was looking good for the session.
Now, click through below to see the difference after retouching:
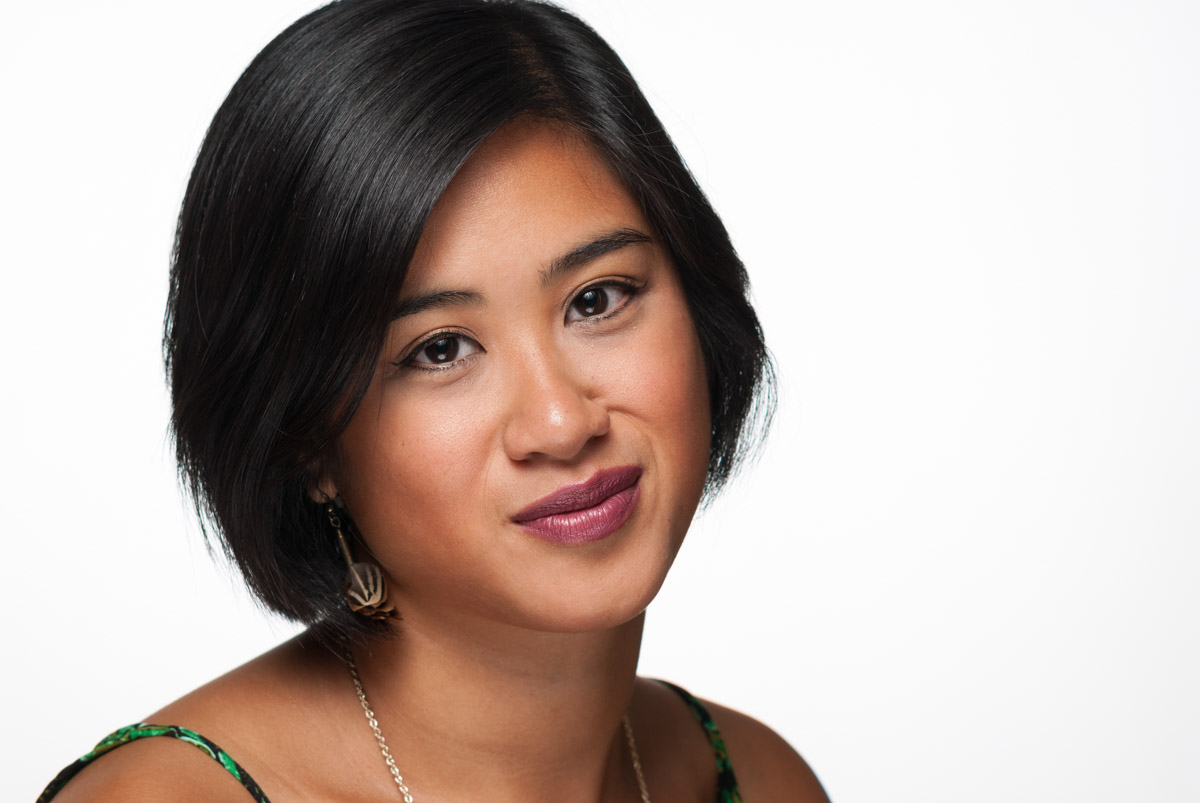

See the difference? A lot of it is pretty subtle, but retouching makes a huge difference in the overall effect. In this photo, I tamed flyaways & crosshairs, trimmed up eyebrows, removed blemishes, evened out skin tones, added contrast to eyes, lips, and hair, reduced fine lines and wrinkles, and even relaxed her posture a bit (look at the shoulders and neck). A little final dodging and burning helps to make the contrast pop even more.
Next up, Dan. I did pretty much the same types of things here. Again the differences are subtle, but essential to creating the best end-product. Dan also had a little fuzz on his shirt, which was really easy to remove, but would he have wanted that in his final photos? You can bet that he did not!

Notice in both examples that I am not greatly altering the appearance of the person. I'm not making them look a completely different age, or a different weight. You just want to create the best version of their likeness so that they can present themselves effectively.
There are a lot of photographers out there who will happily provide you with all of the high-resolution files from your headshot session. I'm not one of them, because I believe that you should be presenting the best product possible. Headshots are all about selling yourself right? It's advertising, so that's why we treat it that way.
And if my client wants several different expressions, that's totally understandable. I'll retouch however many they might want!