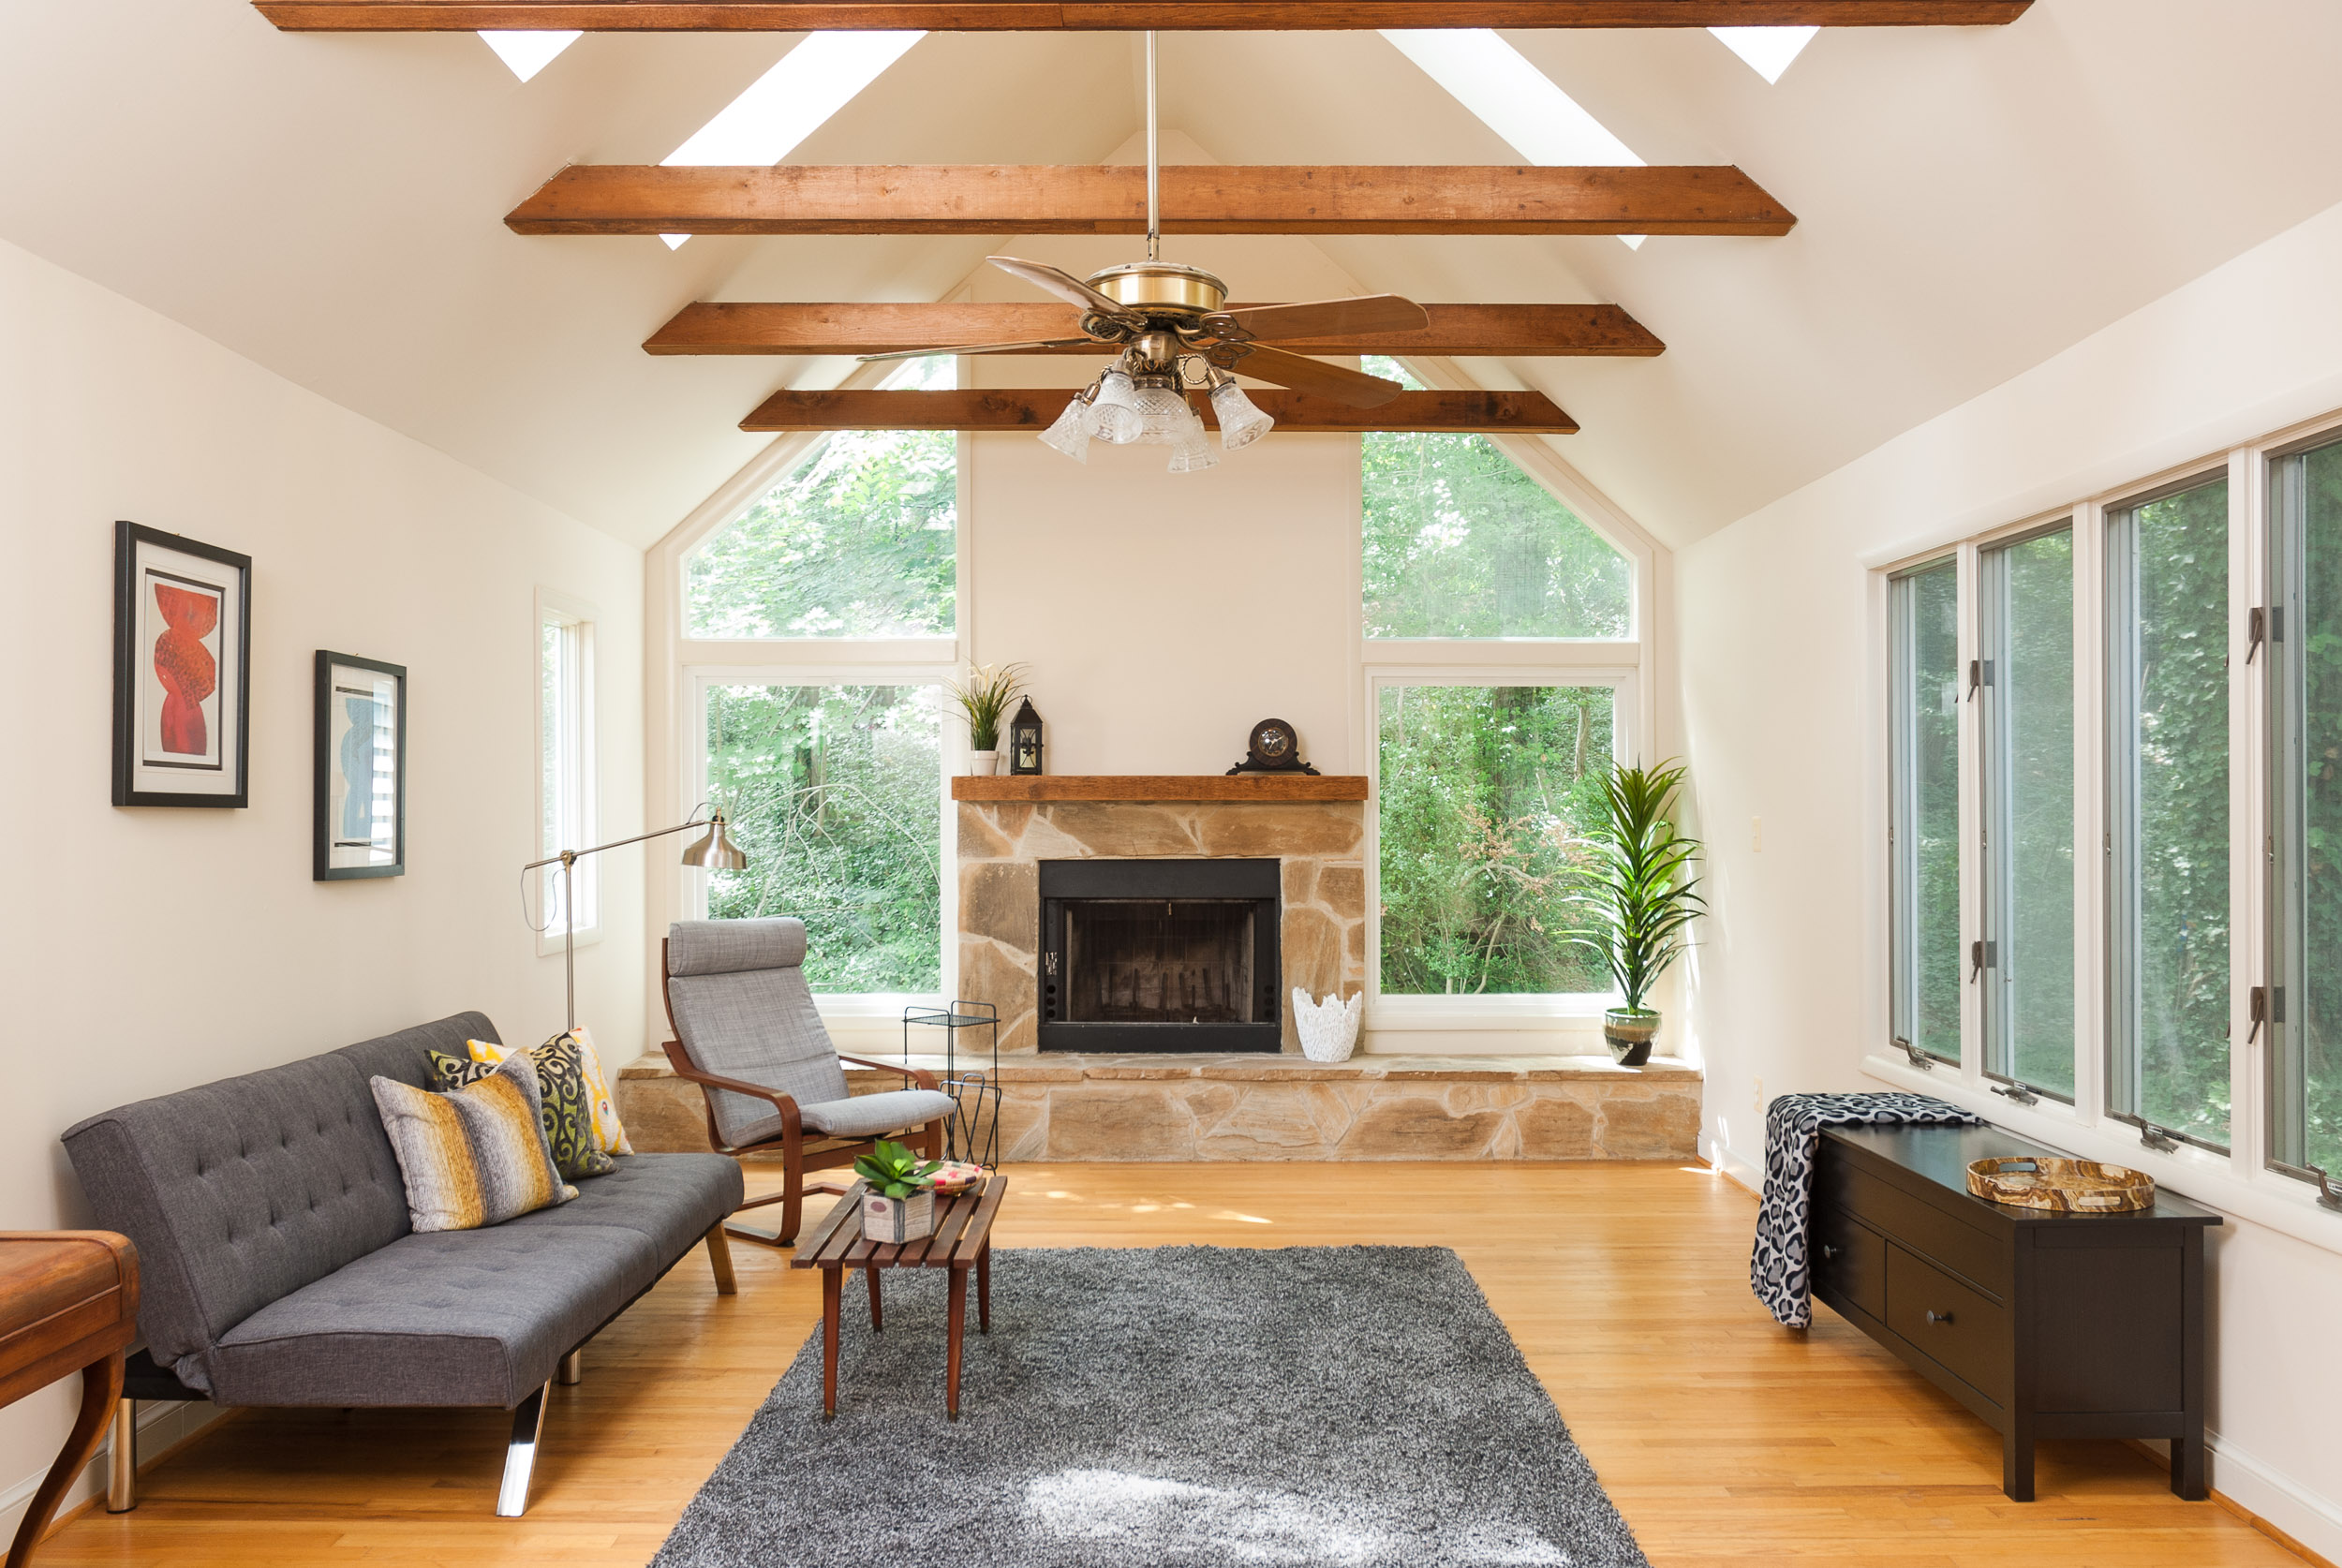
Nikon D200, 18-70 mm 3.5-4.5 AF-S DX @ 18 mm, ISO 100, f/7.1, 1/5 sec.
Lest any of you think that I only shoot photos of my own living room, here's a peek behind the scenes at a recent photoshoot I did for MaryAnn Perkel, owner of Impact Staging & Organization here in Northern Virginia. She does an amazing job, and, for me as photographer, it's a pleasure to be able to focus on the composition and lighting without having to worry about the staging.
The photo at the top of this post was one of my favorites (exposed beams=awesome) and so I thought I'd do a quick walkthrough of how I created this image.
The first thing I always do (after staging, but, you know, she killed it) is to find my composition. Having already done a walkthrough of the house to determine which shots we'd be making, I already knew that I wanted to shoot this room straight-on. The symmetry of the windows around the fireplace, as well as the exposed wood beams kind of demanded that I compose the shot in this way. Then I'll usually handhold the camera to find a more exact composition. I'll move up and down, side to side, and play with various focal lengths. Next, I lock the camera down on my tripod and use a geared head to level it and fine-tune the composition.
The second thing to do is to find the ambient exposure. This usually comprises the windows and any light fixtures that I want to be illuminated. I had tried shots with both the ceiling fan lights on and off and decided during post-processing that the lights were a bit too distracting with all of the beautiful natural light coming through the windows. It's good to shoot both ways so that you have the options to choose from later.
My window exposure ended up being 1/5 sec at ISO 100 & f/7.1. Why ISO 100? Sigh. I don't know. I usually shoot closer to 400 so that my speedlights can hang in there, but I was thinking about trying to get the cleanest file possible since this was not a real estate shoot. I don't know if MaryAnn will ever want large prints of these, but in case she does, she'll have really clean files to use.

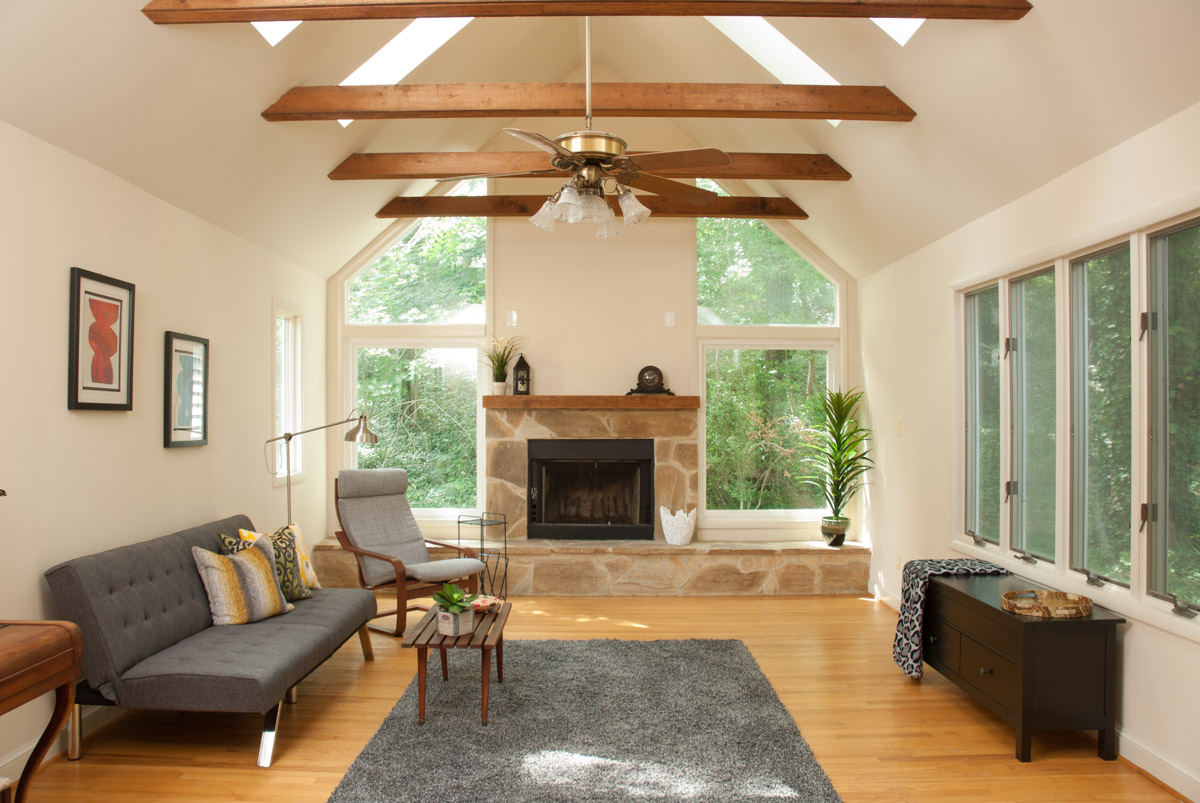
The ambient exposure, before adding flash.
The photo above shows the ambient exposure, and you can see my light stands on the left. They were there from a previous shot where this room was in the background, so they were hidden from view. It was as easy as repositioning them just a bit closer to the camera so that they fell out of view of the left side of the frame. There are two speedlights there, as well as a third resting on a piece of furniture near the other two. They're all aimed at a similar spot near the wall/ceiling joint in order to provide me with more power. Remember, I'm shooting at ISO 100 and these little speedlights don't have the power on their own to fill a huge room like this.
That being said, the ambient window exposure is providing me with a good amount of fill light in the room on which to add some flash. If it was pitch black in there after finding my window exposure, I would have been worried. As it was, I had a pretty good starting point, but adding the flash does two things. The most obvious is to bring up the exposure level of the room so that it appears bright and cheery, while the more subtle effect is that it adds depth and shape.

The exposure after flash has been added, with no retouching.
So the photo above shows the final shot, straight out of camera with zero adjustments. If you look in windows on either side of the fireplace, you will see the reflections from my flashes. They show up as large white blotches, most noticeable on the left-hand window. The reason they are not small reflections is because I am bouncing the speedlights off of the wall/ceiling, thereby increasing the size of the light source. It's great for creating soft light, but not so great when you have a lot of windows. Luckily, I had anticipated this and knew that I could easily clone those reflections out during post. If there had been something more complex outside, it would have been a harder task, but the trees all just meld together beautifully.
Because the photo was not going to be used for real estate, I had no problem cloning out the two outlet plates just above the fireplace. That's a big no-no for a real estate shot. Other post-processing included lens corrections, white balance, slight shadow-lifting, a touch of clarity, a slight S-curve to boost midrange contrast, and a tiny bit of sharpening. I apply a light touch with most of the post-processing. If you think you went a little too far, you went too far. Pull it back! Click the gallery below to see the photo before & after post-processing.

Another thing I like to do when shooting for a home stager or interior designer is to grab a closer shot, or detail. It's easy to do once you've got the lighting and exposure down, as long as the lights aren't in your new shot.

Grab a closer shot with the same light setup as the wide shot.
For the above shot, I moved the lights a little from where they were in the previous wider photo. Check out the setup shot below:

The setup shot. Speedlights are two LumoPro LP180s and a Nikon SB-26.
For the wide shot, the lights had been aimed at the wall-ceiling junction near the top left of that window above the piano. In order to trigger the lights, notice the radio receivers on top of the camera and attached to the lefthand light. The other two lights are trigged via their built-in optical slaves. That's quite the handy feature when using multiple lights on jobs like these!
I hope you've enjoyed this peek behind the scenes, and feel free to ask any questions in the comments.